Warframe is a game notorious for its terrible new player experience. A decade of updates has given Warframe dozens of quests, new game systems, and hundreds of weapons to chase. That degree of content is both a blessing and a curse as it can be a daunting task for a new player to make sense of Warframes complex web of mechanics. In this Warframe beginner’s guide we’ll cover which Warframe to start with, explain what to do after the tutorial, and cover some basic game systems and build crafting that will make your life as a Tenno much easier.
Understanding The Basics
Choosing your first Warframe
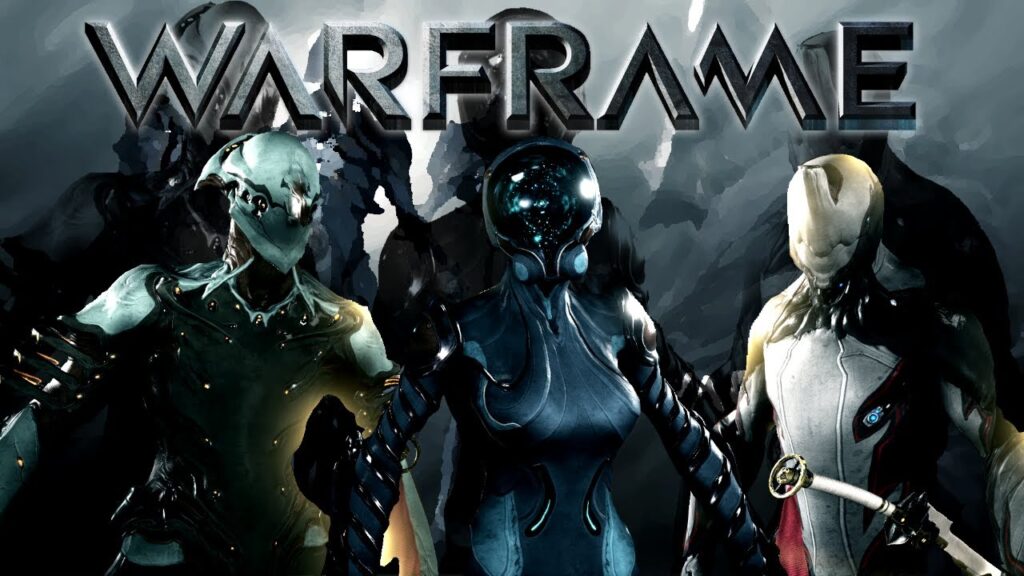
After the opening cutscene, you’ll be given the choice between Excalibur, Volt, and Mag. The game claims Excalibur is ideal for new players, but you shouldn’t be intimidated if you like the look of the other two. Excalibur has the most easily understood abilities, but both Volt & Mag have cool stuff to offer. Regardless of your choice, you’ll be able to craft or purchase both the other Warframes later in the game.
Here’s a quick overview of each Warframe:
- Excalibur: Specializes in melee combat. Excalibur uses his Exalted Blade to deal massive damage and blind foes.
- Mag: Mag can pull enemies toward her, lock targets into a flurry of ricocheting bullets, or crush their bones with sheer force.
- Volt: Focuses on speed and crowd control. Volt runs incredibly fast, shocks targets with lightning, and can create impenetrable shields which can be picked up.
Understanding Movement
Most third-person shooters are quite slow and encourage the use of cover. Not Warframe it’s as much a movement shooter as it is a looter shooter. Your survival and overall enjoyment of Warframe will highly depend on how well you understand the basics of parkour. Master the game’s parkour and modding systems, and you’ll be flying through levels as a whirlwind of destruction.
By far the most important tool in your kit is the bullet jump, a parkour maneuver that drastically increases your speed. Perform a crouch jump to corkscrew through the air, granting far more speed than sprinting. You can chain this bullet jump with rolls, slides, and double jumps to move incredibly fast. You should always be bullet jumping when possible.
here are some of the other maneuvers you can perform:
- Wall Run: Press jump while sliding against a wall or other obstacle, then tap the pitch button (the mouse wheel by default) while still holding forward to continue moving up or sideways during your jump.
- Aim glide: Aim while in the air or bullet jumping to extend your air time and or land easy arial pot shots.
- Wall Jump: Bullet jump while aiming at a wall. If done correctly, this will allow you to bounce off surfaces.
- Wall Dash/Plant/Leap: By holding down both sprint and crouch keys simultaneously before hitting the jump key, players can dash into enemies with their melee weapon for a high damage strike which can also act as a movement tool.
Weapons
All frames have three weapons at their disposal: a primary, secondary, and melee weapon. Your primary and secondary can be swapped between at any time. Press the melee button to perform a melee attack, swapping to your melee instantly. More complex attacks are locked behind Stance mods, combo suites you can equip on melee weapons that match the mod’s archetype they also act as a way to increase your melee weapons mod capacity.
Killed enemies and destroyed crates have a chance of dropping ammo. Melee weapons don’t use ammo but accumulate a combo multiplier up to 12x based on hits delivered. The more hits you land, the higher your combo will be. Your combo affects your melee’s damage output and empowers your melee weapon’s Heavy Attack. Performing a Heavy Attack or failing to hit someone within five seconds resets your combo meter.
Enemy Factions
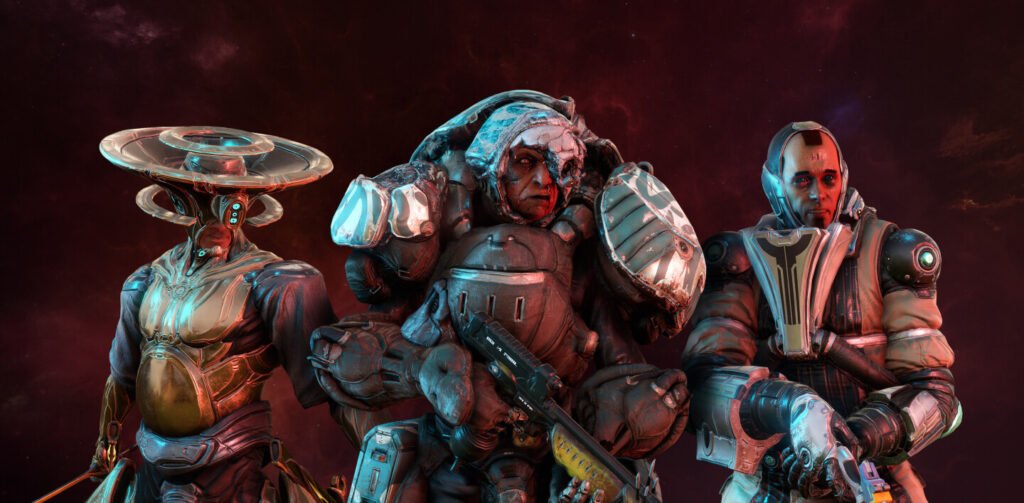
There are three main factions you need to worry about in Warframe, and being able to identify which one you’re dealing with is important as each faction has its own weaknesses that you need to build around.
- The Grineer: Tanky enemies with powerful weaponry. They aren’t as sophisticated in their security as the other factions but can overwhelm you with sheer power. They are weak to corrosive and heat procs.
- The Corpus: Technologically advanced they use drones to aid them in combat, and have energy shields that you will need to break. They are weak to toxic and viral procs.
- The Infested: Rely on swarming you with enemies and draining your energy and health directly ignoring your shields, so you must be very careful when fighting them. They are weak to bleed procs.
What To Do After the First Quest
Once you’ve completed the “Awakening” and “Vor’s Prize” quests the only quests where the game guides your every step, you’ll be let loose to do whatever you want but this is not nearly enough to get a grip on Warfarmes systems. For most players, this is incredibly overwhelming, most players don’t even know where to start the next quest from. Warframe has hundreds of missions on the Star Chart, daily and weekly missions, a battle pass system, hundreds of items to chase, and a complex modding system to learn. So where do you start?
Star Chart
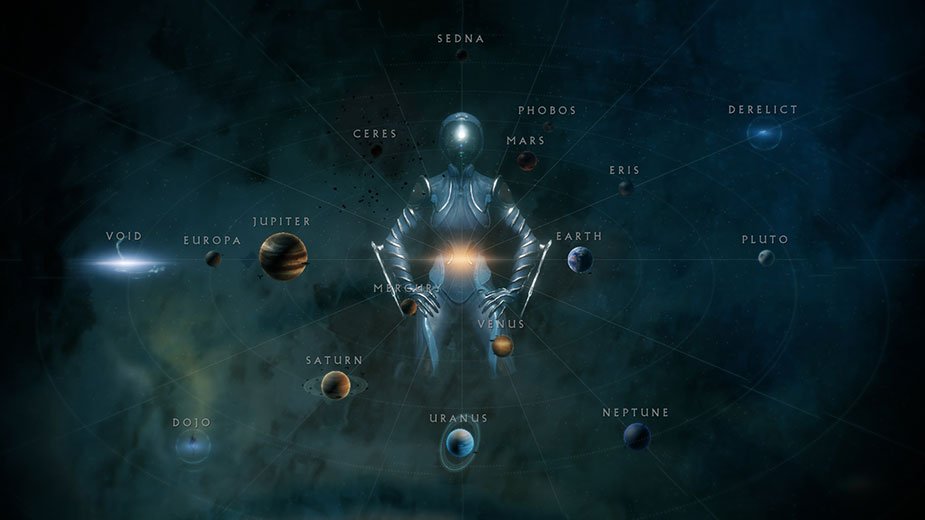
The Star Chart is the primary way to embark on missions through the Navigation on the Orbiter. Trekking through the Star Chart will open up new planets, locales, and even open-world environments with your first major landscape being the Plains of Eidolon on Earth, Cetus. At first, the Star Chart will introduce you to low-level missions with various objectives, such as Spy, Sabotage, Defense, Excavation, Survival, Assassination, Mobile Defense, Rescue, Hijack, and Exterminate. There are close to 250 nodes on the Star Chart to complete, and when traveling to a new planet you will face off against tougher bosses and gain access to even more planets.
Junctions
Junctions are space stations that connect planets on the Star Chart. You likely completed a few during the “Vor’s Prize” questline. These Junctions serve as a great way to learn Warframe’s core systems and unlock useful rewards. You’ll want to complete all nodes leading up to a Junction, finish its listed challenges, then defeat the Specter inside the Junction to unlock a new planet.
Repeat this process until you eventually unlock the entire Star Chart. If a Junction rewards you with a quest, complete it. Warframe’s quests always grant a useful reward, ranging from Warframe blueprints to cinematic quests that unlock new progression systems.
Some notable Junctions include:
- Earth > Mars Junction: Unlocks the Void Relic system and “The Archwing,” a quest required to access Archwing nodes.
- Jupiter > Europa Junction: Unlocks “The New Strange,” a quest tied to Warframe’s main story.
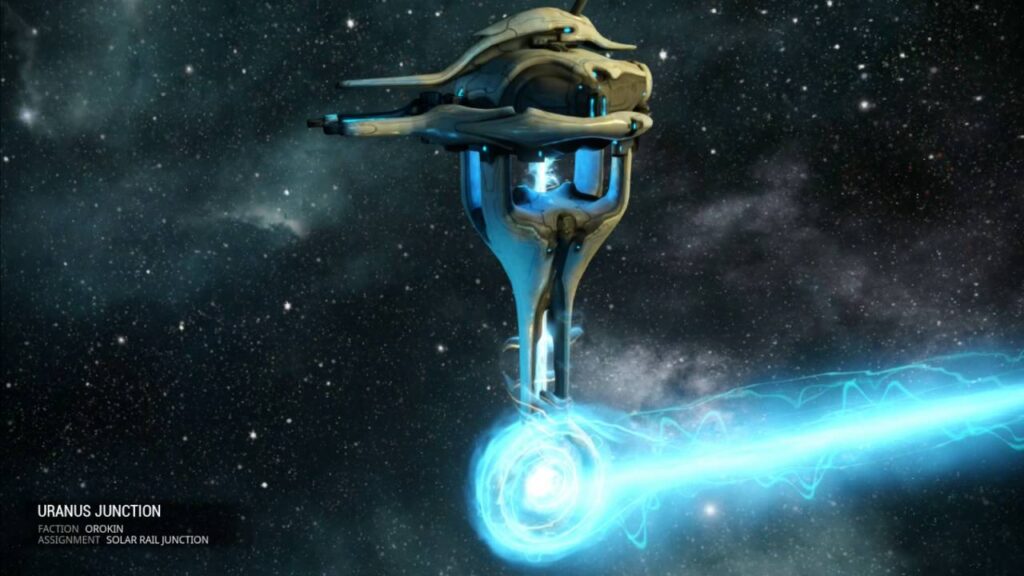
- Uranus > Neptune Junction: Unlocks “The Second Dream.” Complete this quest to unlock an endgame progression system.
Note that the steps required to complete these junctions might change in the future as DE have stated that they are looking into streamlining junction requirements, removing some of the more frustrating ones.
The Quests Tab
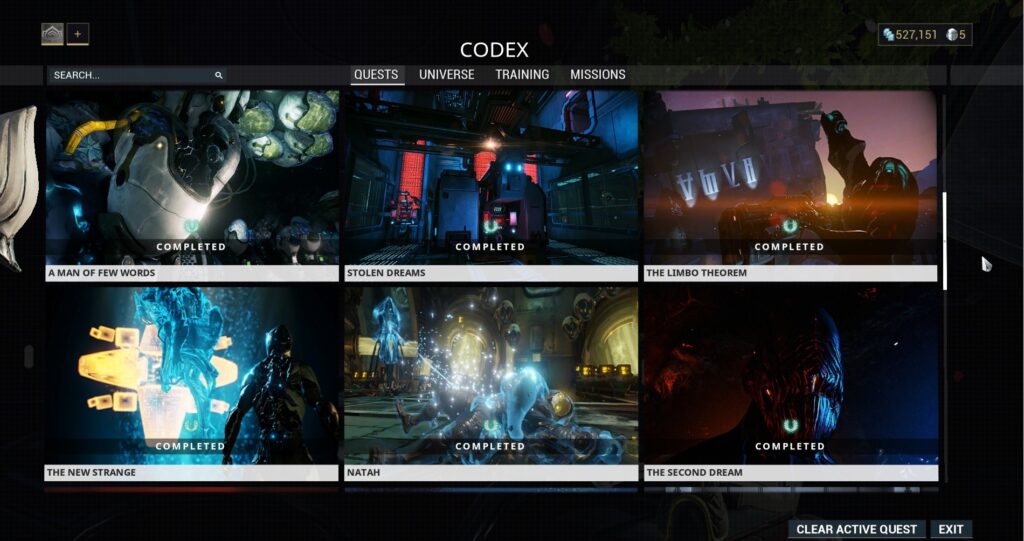
Quests tab in the Codex is a core system within Warframe, which you can access from your orbiter. From here, you can start new quests, change your active quests, and see which quests you’ve completed so far. Be sure to come here often to check on your progress. In the beginning, keep your focus on the main questline and try not to get distracted by other side quests.
Stay Away from the Open Worlds
Starting off you might be tempted to explore The Plains of Eidolon or the Orb Valis but as a new player try to focus on one aspect of the game at a time. The open worlds are their own thing entirely with their own set of mechanics which will overwhelm you even further so focus on completing the Star Chart, junctions and main quests first and come back to the open worlds when you have more experience.
Mods and Build Crafting
Mods
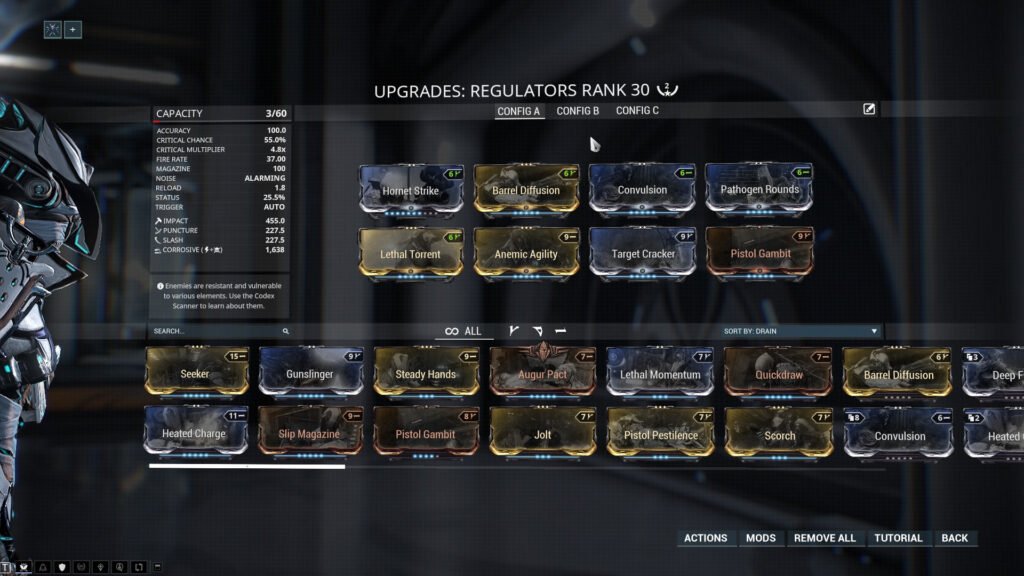
Modding your gear is a crucial skill to learn if you want to get anywhere in Warframe. Unfortunately, the tutorial doesn’t do the best job of explaining what Mods are and how they work. Mods are unique cards that can be socketed into your Warframes, weapons, and companions to enhance their capabilities. Mods allow you to increase the damage of your abilities, multiply the number of bullets your weapons fire, or even augment the way your Warframe powers work. Mods have infinite uses, can be applied to all supported items without needing duplicates, and can be traded with other players. This is your primary method of improving your Warframes and weapons, so be sure you fully understand and utilize this system.
Mod Drain And Polarities
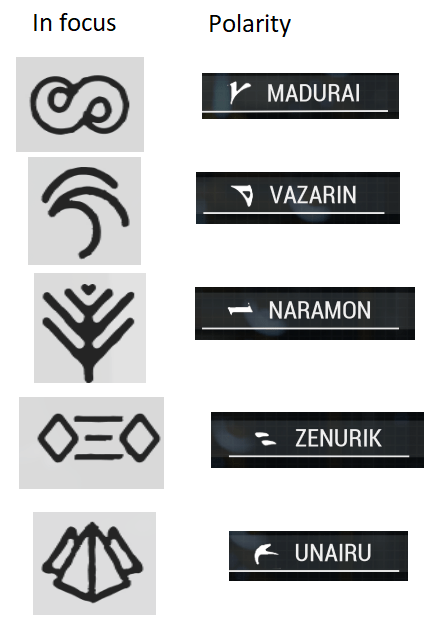
One of the most confusing aspects of modding is the Polarity system. You might have seen a Mod that has a strange symbol in the top-right of the card. This is called a Polarity. Polarities are symbols found on Mod cards and Mod slots on your gear. Matching a Mod’s Polarity with a Mod slot’s Polarity will halve the cost of the Mod. Conversely, slotting a Mod with a different Polarity than the slot will increase the Mod’s drain by 25%. That might sound confusing, so let’s give an example. Let’s say you want to install the Intensify Mod onto your Warframe. You have three empty slots. One slot is blank, one has a “D” symbol, and the third slot has a “V” symbol. Socketing the Intensify in the blank Mod slot will drain 11 points from your build, Intensify’s standard drain amount. Moving it to the V socket will halve the drain, reducing it to 6 points (the game rounds up). Conversely, moving it to the D socket will increase Intensify’s cost by 25%, raising it from 11 to 14.
Adding Polarities
Once you’ve leveled an item to its max rank, you can Polorize it by using a built Forma to add a Polarity of your choice onto any Mod slot. This will reset the rank of your item, but you’ll have a new Polarity on the item to use. Forma is a rare resource that is a potential Void Relic reward. Applying Forma onto your items will let you fit more expensive Mods into your build, increasing your loadout’s overall effectiveness.
Upgrading Mods Through Fusion
Similar to Warframes and weapons, Mods have levels that dictate their effectiveness. You can increase a Mod’s rank by investing Credits and Endo, two core resources you’ll stumble across while playing Warframe. Endo is a currency used in upgrading your Mods. Increasing a Mod’s level will raise all of its stats by set increments while increasing its Mod Drain by one per rank. In simple terms, making your Mods stronger will also make them more expensive to install.
Obtaining Mods
Mods drop from just about every enemy in Warframe. Most enemies have a 3% chance of dropping a Mod when slain, give or take. Beyond killing enemies, you can obtain Mods as mission rewards or from in-game vendors like Syndicates. Trading Mods with other players is also possible if you’re looking for something specific. One of the best ways of obtaining Mods early on is by breaking Void Canisters in the Void tileset. Certain rooms act as parkour tests that reward you with a room filled with unique canisters. These canisters have a very high chance of dropping a Mod, some of which are quite rare. Maroo’s weekly missions usually take place in one of these rooms, giving you further incentives to complete her weekly whenever it’s available. Additionally, pay special attention to Aura and Stance Mods since they give your items Mod capacity instead of draining it. You can obtain Aura Mods by spending Nightwave Creds in the Nightwave menu found in your ship or Navigation menu. Stance Mods drop from certain enemies and activities.
Modding Warframes
Warframes feature ten Mod slots, two of which can only install certain Mods. Your Warframe’s stats revolve around improving its survivability, speed, and how effective its abilities are.
- Aura Slot: Houses Mods that affect your team, not just you. These Mods grant extra Mod capacity.
- Exilus Slot: Compatible with certain utility Mods, with a unique symbol (Locked by default, but can be accessed by installing an Exilus Adapter.)
- Default Slots: Houses all non-Aura Mods, including Augment Mods. These slots mainly impact your abilities and survivability.
Warframes have ten slots to work with, eight of which focus on enhancing your character’s survivability and ability effectiveness. Increasing your Mod capacity with a Warframe requires an Orokin Reactor.
Warframe Stats
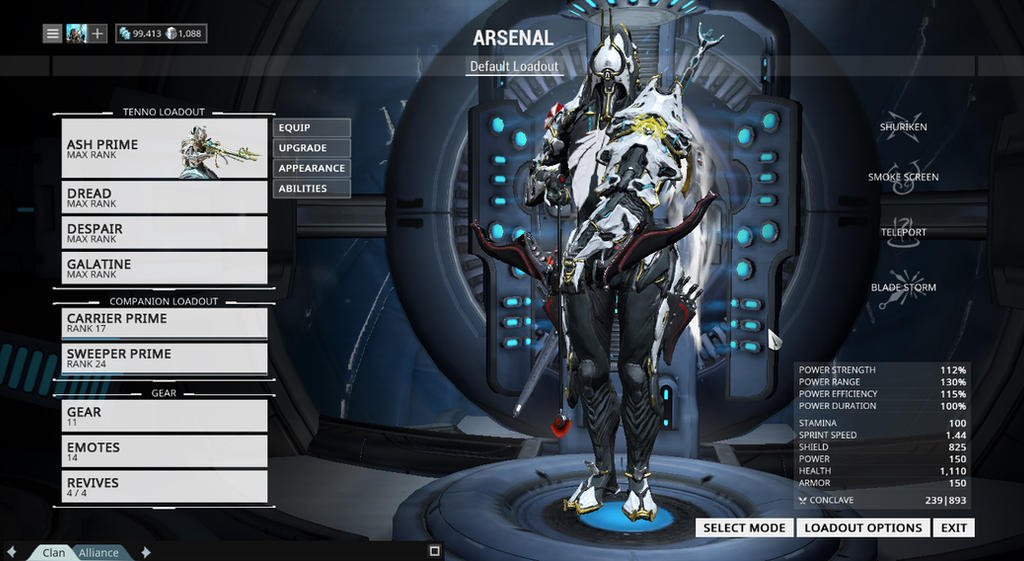
Warframes have two sets of stats: abilities and passive stats. Ability stats determine how effective your abilities are, while passive stats impact your survivability, speed, and any utility your Warframe might benefit from. Let’s start with abilities:
- Ability Duration: Determines how long your abilities last.
- Ability Efficiency: Determines how much Energy your abilities drain. Has a hard cap of 175%.
- Ability Range: Determines the distance each ability can cover, if applicable. This impacts a projectile’s maximum range, the radius of certain skills, and the cone angle of some cone-based AoE skills.
- Ability Strength: Determines the strength of your ability’s. Examples include ability damage, buff strength, or how much a skill debuffs a target.
Your Warframe also has some general stats:
- Armor: Reduces damage taken to your health.
- Energy: Determines how much ability Energy your Warframe can store at any given moment.
- Health: Affects your Warframe’s total HP. If it reaches zero, you die. Health does not regenerate.
- Shields: Affects your Warframe’s shields, a second health source that takes damage before your health. Shields can regenerate.
- Sprint Speed: Determines how fast your Warframe moves while sprinting.
Modding Weapons
Similar to Warframes, weapon stats are split into two categories: primary and damage. Primary includes all of your weapon’s auxiliary stats and how fast it fires. Damage stats are all about how hard your bullets hit.
Primary stats:
- Accuracy: How far projectiles deviate from the center of your reticle. Higher is better.
- Falloff: The distance your projectiles can travel before they experience damage falloff. This only affects shotguns.
- Fire Rate: How quickly your weapon fires each second. Semi-auto weapons can’t shoot faster than ten rounds per second.
- Magazine: How many rounds you can fire before needing to reload
- Multishot: The number of projectiles fired with each trigger pull
- Noise: Determines if enemies will be alerted to you firing your gun and from how far.
- Reload: How quickly your weapon reloads.
- Trigger: How your weapon behaves when shot. Semi, burst, auto, charge, and held are the most common.
Damage stats:
- Critical Chance: How often this weapon inflicts a critical hit, applying your weapon’s critical multiplier to the shot.
- Critical Multiplier: How much harder your bullets hit when they critically hit.
- Status / Projectile: The chance each projectile activates a status effect from one of your damage types. Harder-hitting damage types are more likely to trigger their respective status effect.
- Total: The total damage of each shot.
As a new player, you generally want to focus on adding Corrosive, Viral, or Heat to your weapons. Corrosive requires Electricity and Toxin, Viral needs Toxin and Cold, and Heat is a standalone element. Corrosive and Heat are generally recommended for armored targets like Grineer. Weapons with a high base status chance do exceptionally well with Viral and Heat. Beyond that, equip Mods like Serration and Hornet Strike alongside multishot Mods like Split Chamber and Barrel Diffusion to maximize your weapon’s DPS. Base damage, multishot, and elemental Mods are effectively multipliers to one another, drastically improving your gun’s damage output.
Melee Weapons
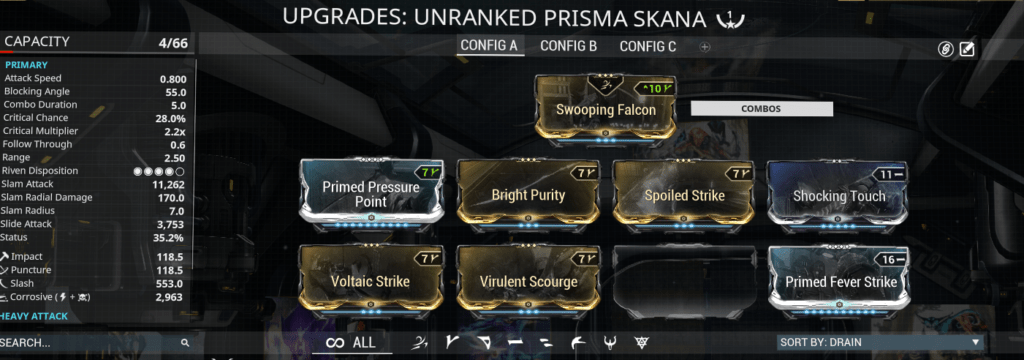
Melee weapons work just like weapons but with one key difference, they have Stance slots instead of an Exilus slot. Stances are Mods that unlock melee combos for your melee weapon. And just like Aura Mods, Stances increase your melee weapon’s Mod capacity. This generally means Melee weapons require less Forma to min-max than a traditional gun.
Melee stats are broken up into primary and damage stats. Damage stats are the same as your main weapons, but a melee’s primary stats are quite different.
- Attack Speed: How quickly you can attack with your melee each second.
- Blocking Angle: When someone attacks you from the front, you prevent hat attack from dealing damage. This determines the angle from which you can block attacks.
- Combo Duration: Hitting enemies builds up a combo. This determines how long the combo lasts before it completely expires.
- Follow Through: Determines how much damage subsequent targets take from a single swing.
- Range: Affects the length of your melee weapon while attacking.
- Slam Attack: A melee input mid-air while facing the ground will cause you to perform a slam attack. This determines its damage.
- Slam Radial Damage: Determines a slam attack’s AoE damage.
- Slam Radius: Determines a slam attack’s AoE coverage.
New Player Essential Mods
Some Mods in Warframe are so commonly used that the community refers to them as “mandatory” or “essential” to making builds. We’re going to list off some of Warframe’s most widely-considered mandatory Mods to give you an idea of what Mods you’ll want to obtain starting out or when you reach the endgame.
Warframe Mods:
- Intensify
- Streamline
- Fleeting Expertise
- Continuity
- Augur Message
- Stretch
- Flow
- Redirection
- Vitality
Weapon Mods:
- Serration
- Hornet Strike
- Point Blank
- Split Chamber
- Barrel Diffusion
- Hell’s Chamber
- Pressure Point
- Fury
- Elemental Damage Mods
Nightwave

Nightwave is Warframe’s take on a battle pass that’s completely free, no premium pass required and there’s no FOMO tied to this system. Each week, the game will provide ten challenges that grant Nightwave XP when completed. Earn 10,000 Nightwave XP, and you’ll progress to the next battle pass rank, unlocking new upgrade materials or exclusive cosmetics. The Nightwave has 30 ranks of rewards and an additional 30 ranks of Nightwave Creds. These Creds may be exchanged for useful upgrade materials, aura mods, and cosmetics in the “Cred Offerings” tab of the Nightwave menu.
Whenever you have Nightwave Creds, purchase the following:
- Orokin Reactor: Install this on your Warframes and companions to double their mod capacity, allowing you to equip far stronger mods.
- Orokin Catalyst: Install this on your weapons to double their mod capacity, allowing you to equip far stronger mods.
- Aura Mods: The silver-colored mods Nora Night sells are Aura mods. These mods give Mod energy for your Warframe and a passive to your entire team.
Usefull Beginner Tip
- Join A Clan: Clans grant access to a clan dojo and research labs, allowing you craft dozens of new weapons and a handful of Warframes. Visit the Warframe forums or the in-game recruiting chat to find a clan. Once joined, craft a Clan Key in your foundry to gain access to the clan dojo.
- Increase Your Mastery Rank: Leveling items in Warframe will grant progress toward your next Mastery Rank (MR). Upon earning enough XP by leveling items, you’ll be able to start a new Mastery Rank test. Complete these tests whenever possible, and level every item you get to level 30. The more items you level up, the more MR progress you’ll make.
- Join A Syndicate: When you reach Mastery Rank 3, you’ll get to pledge your loyalty to one of six Syndicates. Any XP you earn will be converted to Syndicate reputation, allowing you to purchase Warframe augment mods, new weapons, and cosmetics.
If you enjoyed this Warframe beginners guide, be sure to check out more content on Poggers Memes. You can check out the best 5 Warframes for a beginner in the new Duviri Paradox update.