
Welcome, greenbeards and seasoned miners alike, to the ultimate survival guide for spelunking in the depths of Hoxxes IV. This Deep Rock Galactic Guide is your trusty handbook to not getting squashed by a Glyphid Dreadnought or accidentally blasting yourself to smithereens. So grab your pickaxe, and let’s dive into the nitty-gritty of carving out a living among the stars without becoming space dust.
The Objectives and Goals
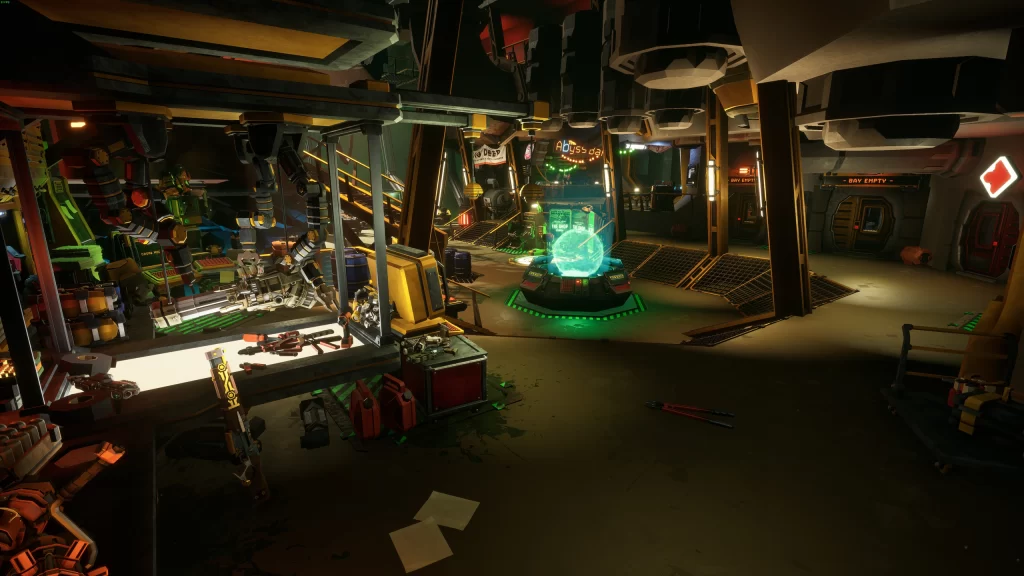
The game already does a pretty good job with its tutorials as you progress throughout, so we’ll be mainly focusing on some unclear points and common questions. Deep Rock Galactic is a nonlinear game, so you don’t have to go on a pre-defined story. Instead, you can do whatever you want and progress further into the game at your own pace as long as you have some fun. So After you’ve completed the tutorial mission, you’ll end up in the Space Rig.
- Select a mission to play
- Pick assignments
- Track the daily to-dos at the season terminal
- Change class, buy and equip perks, track your performance
- Upgrade and equip weapons
- Promote
- Forge and equip overclocks
- Fun activities (kicking barrels, drinking beers, dancing, and more)
- And respawn in the med bay after each death
Although there are many things to do here, you should check out the assignment board and get on a series of missions
Assignment Board
Before you start doing missions, you should check to see if there’s an assignment that catches your eye. Located across from the mission selection console, you can grab assignments to unlock new weapons and gameplay features. Assignments require sequentially completing a series of missions. These missions are marked visibly on the selection table and can typically be completed on any difficulty (unless specified otherwise). If you’re interested solely in unlocking the reward, we recommend burning through them all on the lowest difficulty.

You can only be on one assignment at a time. If you want to do another assignment, you’ll have to abort all progress on your current one. It is strongly recommended if you’re playing with a consistent squad to start an assignment at the same time, as assignment progress is individual. Do note that some assignments expire from the board after a set amount of time. If you pick up an assignment before it expires, you have until you finish the assignment or abort it. We recommend prioritizing assignments that are limited-time event ones, unlock gameplay features, grant new weapons.
Mission Types
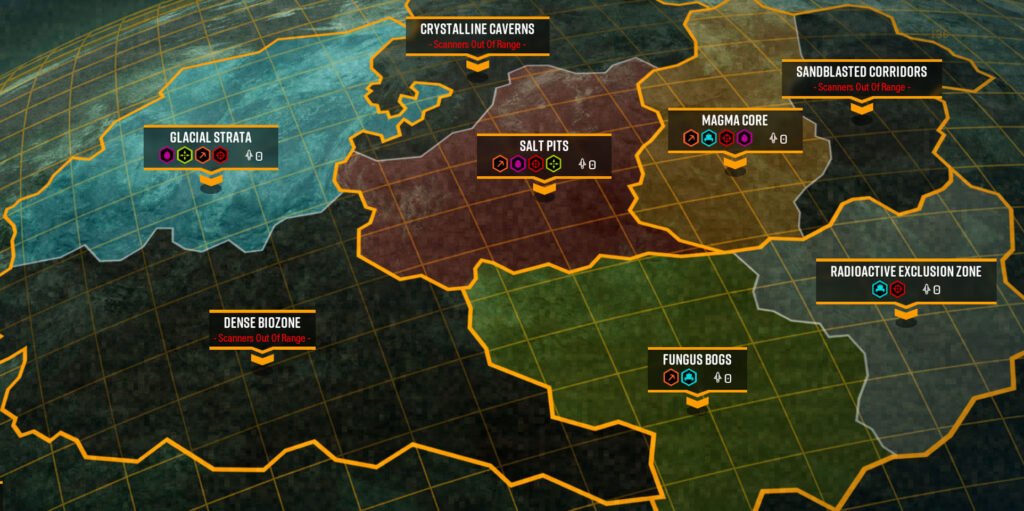
There are 7 different mission types. We’ll briefly touch on each one:
Mining Expedition: Your main objective is to collect Morkite. You will be dropped into the top of a linear cave system, which brings you through multiple large caves and tight tunnels to gather the required minerals, before making your way back to a the Drop Pod to make your escape.
Egg Hunt: Your main objective is to locate and deposit a specific number of Alien Eggs into the M.U.L.E.. The mission takes place in a nonlinear cave system, and you can collect the eggs in any order. The Alien Eggs are surrounded by dull, pink, organic material that can be mined to free them. Beware, as breaking the eggs out of the organic matter will summon enemies, potentially even an entire swarm.
On-site Refining: Your main objective is to refine Liquid Morkite using Pumpjacks and the On-site Refinery. Mission control will drop you into a nonlinear cave system, which has generation similar to Point Extraction. Set up pipes from the On-site Refinery to the Pumpjacks, refine the Liquid Morkite, protect and repair the pipes, and get out.
Salvage Operation: Your main objective is to reattach the broken off legs of 2-3 Mini-M.U.L.Es, establish an Uplink between the derelict Drop Pod and the Space Rig, refuel the Drop Pod with fresh Fuel Cells, and survive while the Drop Pod powers up.
Point Extraction: Your main objective is to collect Aquarqs in the cave surrounding the Mine Head, which is protected by turrets mounted on the main platform of the Mine Head, while being attacked by waves of enemies and periodic larger swarms. Once you have deposited all your Aquarqs, launch the Mine Head and wait for Mission Control to send in the Drop Pod. Get in and make your escape back to the Space Rig.
Escort Duty: Your main objective is to protect and refuel the Drilldozer as she drills from cave to cave before reaching the Ommoran Heartstone shell, where she will extract the Ommoran Heartstone itself. Be ready for a tough fight. The Heartstone won’t give itself up without a fight, and the bugs definitely don’t want you there either. Once you have secured the Heartstone in the M.U.L.E, call in the Drop Pod and make your way back through the tunnels created by the Drilldozer.
Elimination: Your main objective is to find and eliminate two or three Dreadnoughts, which are maturing in their cocoons until you pop them. Eliminate them before they can turn into something even worse. After they’re all dead, make your way back to a landing zone for extraction via the Drop Pod. Make sure to bring plenty of ammo. They can take a punch.
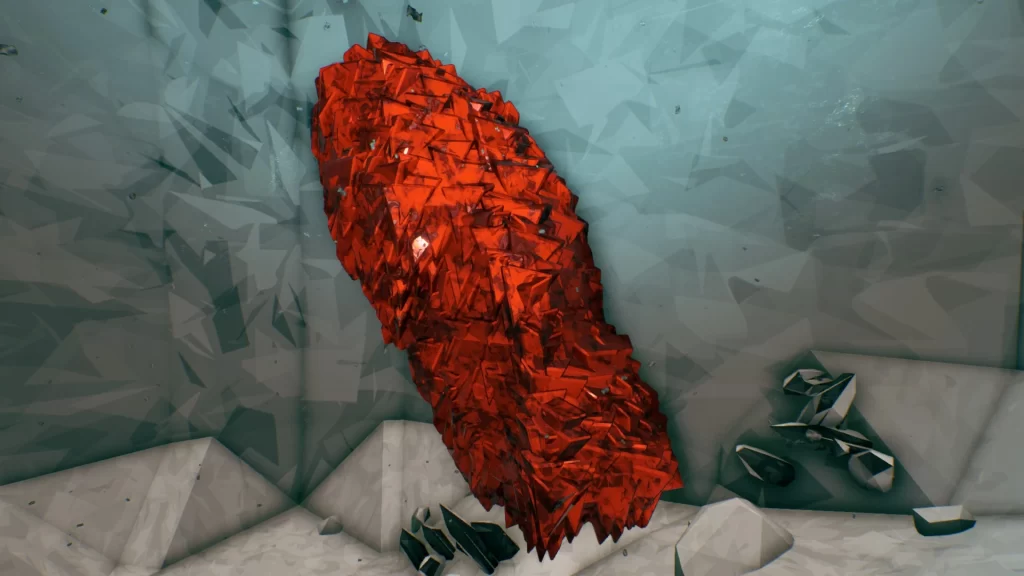
Nitra
Nitra is your best friend. The jagged bright red mineral is found on every mission and is what you spend to call resupply pods. On longer/difficult missions, you’ll be chewing through ammo so having enough Nitra on standby is critical.
- It costs 80 Nitra to call down one resupply pod.
- Nitra is jointly shared amongst the squad, so call out when you’re using it!
- You can check how much Nitra is available by pulling out your Laser Pointer.
- Resupply pods contain 4 packs that each restore 50% of your resources. If you’re running a 4-man squad, don’t be greedy and take all the packs yourself.
Class Guide
Driller
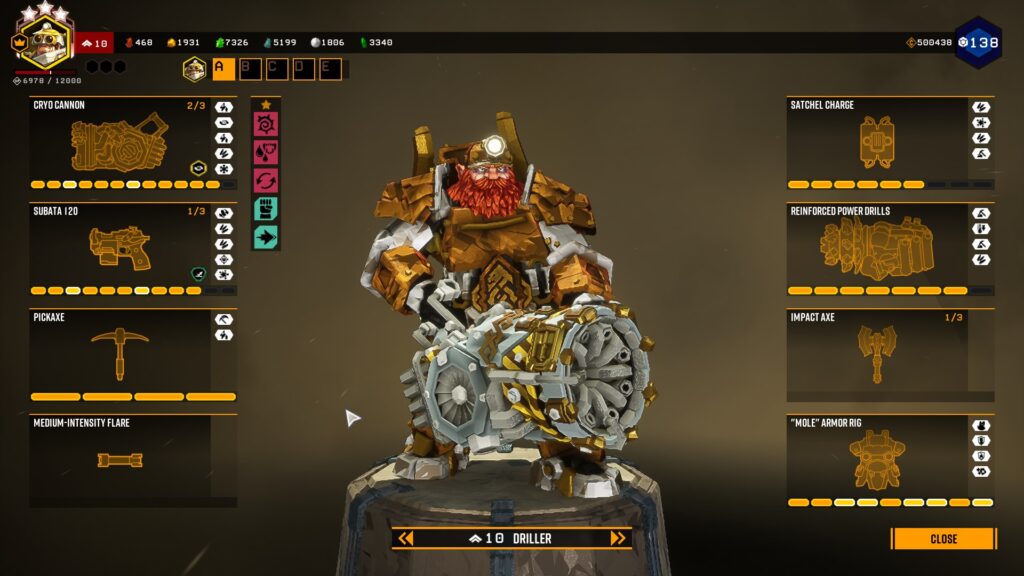
As the Driller, your job is to create pathways and clear obstacles for your team using your Powerdrill. Equipped with a Flamethrower or Cryocannon you can burn enemies or freeze them. For consumables, you have the Impact Axe, which is tossed and deals impact damage to enemies, the High Explosive Grenade which functions as a frag grenade, the Spring-loaded Ripper which will go in a straight line damaging enemies and looping on terrain, and the Neurotoxin Grenade which detonates in a cloud of toxic gas that explodes if ignited.
Engineer
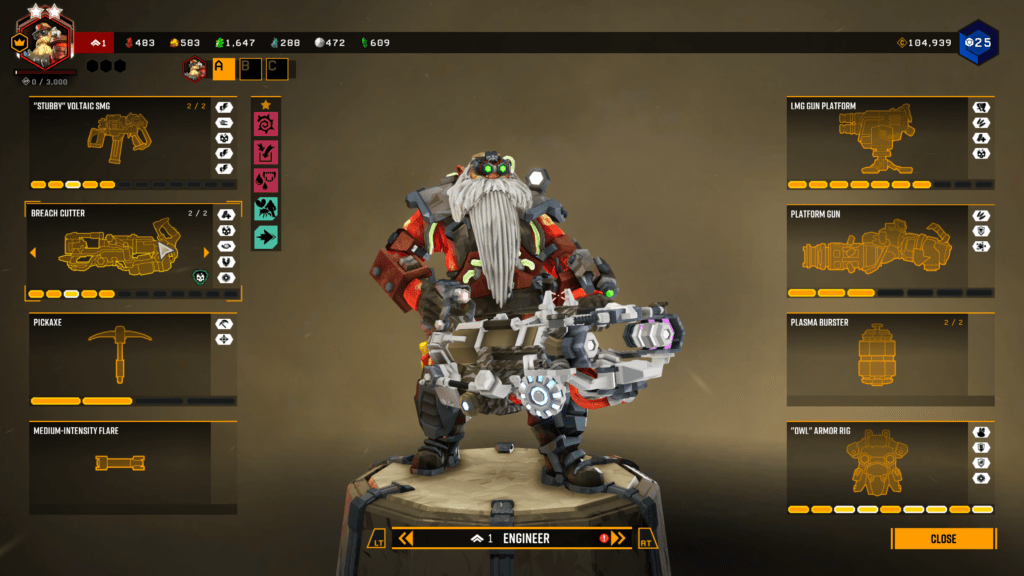
As the Engineer, you carry the Platform Gun that can shoot climbable platforms onto any surface. For weapons, you have the Combat Shotgun and Grenade launcher that can be used to devastating effect at close range. The Engineer can choose from three different grenades. The L.U.R.E., which creates a holographic Dwarf decoy that distracts enemies from himself and his allies, the Plasma Burster, which creates four explosions per grenade, and the Proximity Mine, that only explodes when a medium or larger size enemy enters its trigger zone.
Gunner
As the Gunner, you are equipped with a heavy Powered Minigun, Autocannon, or Missile Launcher. Your job is simple it’s to keep the rest of your squad alive if you’re under siege by hoards of bugs. You can choose from four different grenades. The Sticky Grenade which is able to stick to surfaces and enemies. The Incendiary Grenade which creates a fiery explosion. The Cluster Grenade which upon explosion launches several mini-grenades which instantly explode on contact, and the Tactical Leadburster which fires volleys of bullets 360 degrees on impact.
Scout
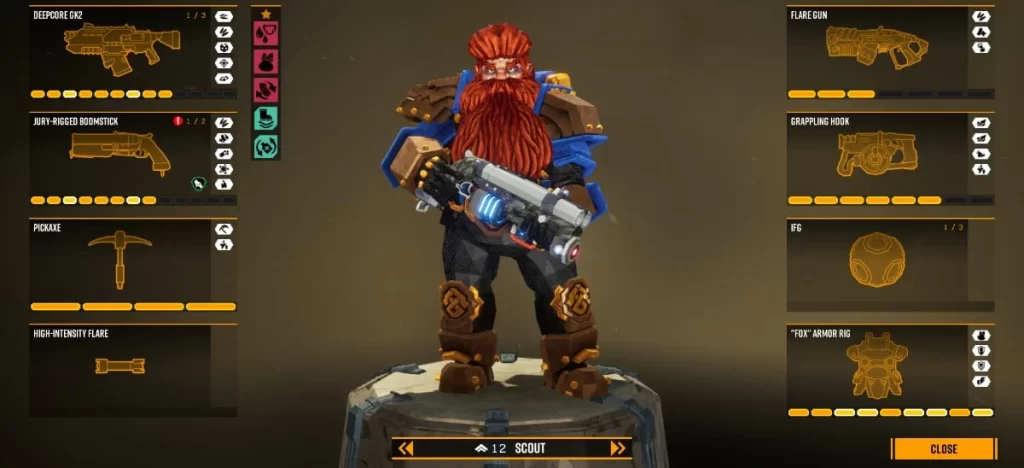
The Scout is centered around mobility with the use of his reusable Grappling Hook, he is also capable of placing sticky flares using his unique Flare Gun that can be used to light up much larger areas than the normal Flares are capable of. For weapons, he has an Assault Rifle and a Semi-Auto Rifle. As a Scout you have 4 consumables. The Inhibitor-Field Generator which slows enemies down and increases their damage taken. The Cryo Grenade which can potentially freeze most enemies instantly and the Pheromone Canister which covers enemies in pheromones, turning them into a target for other enemies to attack.
Character Rank
As you play each of the game’s four classes, you will gain experience and ranks separately for each of the different classes, up to rank 25. Some weapon and equipment upgrades require you to have a certain rank before you can unlock them. Your current rank and experience progress are indicated at the top left of the screen below your Class Badge.
Player Rank
Your progress as a player is also tracked at the top right of the screen on the Player Badge, the blue gem which shows your name and player rank in title and number form, as well as your current credit balance. You rank up each time the blue gem fills all three of its sections up, and one section fills up each time you gain a rank with one of the four classes.
Tips and Tricks
- It would be best if you prioritized assignments first since they provide new guns, resources, overclocks, and skins. It’s a waste to play missions without picking an assignment unless you don’t want to progress.
- Some bugs in DRG have weak points you can shoot to double or even triple the damage. Usually, the bugs’ weak points are the mouth, abdomen, back, sack, glowing, or exposed parts. You can check this info in the Miner Guide in the game.
- Weapon modifications and overclocks are your primary power source. So, understanding what they provide can be a huge advantage. You may know about the damage increase, fire rate, reloading speed, clip size, or magazine size upgrades.
- Even though DRG is a co-op game, you can still shoot your fellow dwarves. So, pay attention to any AoE damage weapon, such as the flamethrower, grenades, or the Fat Boy.
- Flares and Scout’s light is super important in this game since you don’t know what awaits you in the vast dark cave.
- Since there is an ammo cap for all your guns and grenades, there is no point in taking 3 or 4 resupply pods.
- Although there are many enemies, fall damage contributes to a large portion of dwarves’ death in this game. If you play Scout, fall damage is not a big problem. Moreover, the Engineer can upgrade his platform gun to prevent minor fall damage.
- Most Gunner’s guns or the Experimental Plasma Charger can destroy the terrain. This means a lot when your team almost dies and sees red sugar on the ceiling.
- Unlike walking bugs, flying enemies like Mactera Spawns, Grabbers, or Goo Bombers will die instantly if frozen. This makes the Cryo Cannon or Scout’s Cryo Grenade the best weapon to fight flying enemies.
If you enjoyed this post, be sure to check out more content on Poggers Memes. Enjoy cooperative games? You can check out the best 5 Warframes for a beginner in the new Duviri Paradox update.